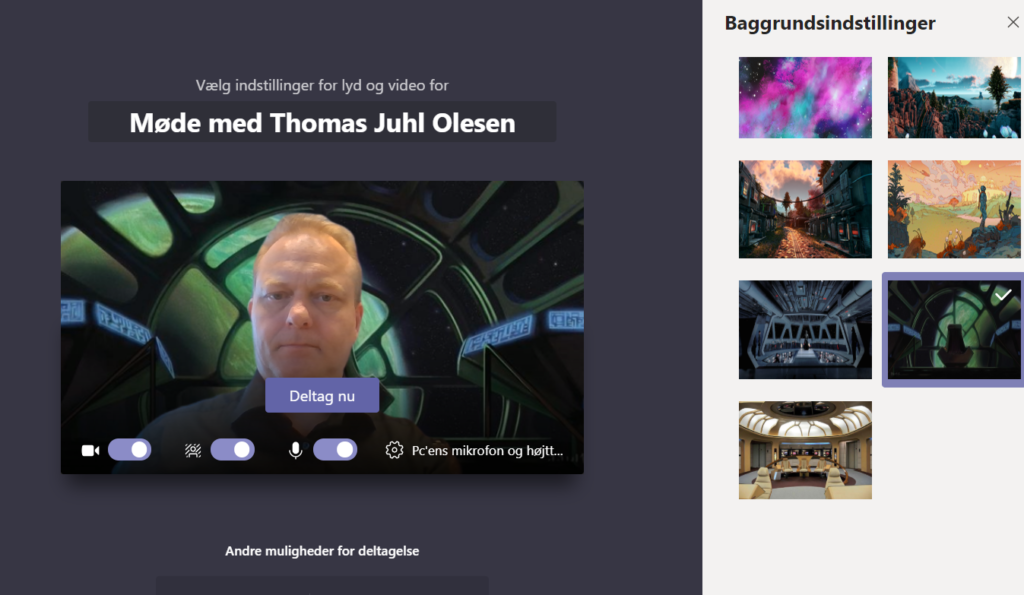
The Teams background feature really gained some traction, now when joining meetings we always spend the first minute or so giving credits to the most impressive and creative uses of custom background – so now you’ve had your fun, lets lock down the feature 🙂
I have added a lot of custom background myself, this is done by adding PNG / JPG image files to the below folder.
%AppData%\Microsoft\Teams\Backgrounds\Uploads
Alright, now to the management part.
The background blur – for now – is controlled via powershell.
This means you have to connect to Office 365 via powershell to adjust the policy
Do this by creating a remote PowerShell session out to Skype for Business Online using its PowerShell module. Once the module is downloaded and installed, check out how to connect to Skype for Business Online using PowerShell.
So now i have access to a couple of custom backgrounds.

So lets create the new policy
You need to create a new meeting policy using a new property named VideoFiltersMode. This property has four options available for values:
- BlurOnly: offer background blur only
- BlurAndDefaultBackgrounds: offer background blur and default-provided images
- AllFilters: All, which includes the ability for Teams to use custom images
- NoFilters: offers no background effects or filters
Lets try out the BlurAndDefaultBackgrounds settings, which i guess will be mostly used.
New-CsTeamsMeetingPolicy -Identity BlurAndDefaultEffects -VideoFiltersMode BlurAndDefaultBackgrounds
After that see that the settings is added to the policy

Now lets assign the new policy to a user
Grant-CsTeamsMeetingPolicy -Identity tjo@juhlconsult.dk -PolicyName BlurAndDefaultEffects

After the usual waiting around for sync its time to test.
And Hey – custombackgrounds are now gone.

As always – Happy Team’ing. 🙂


